C#のプログラムでOneDrive にフォルダーを作成するコードを紹介します。
概要
C#のプログラムから、OneDriveにフォルダーを作成します。
プログラム
UI
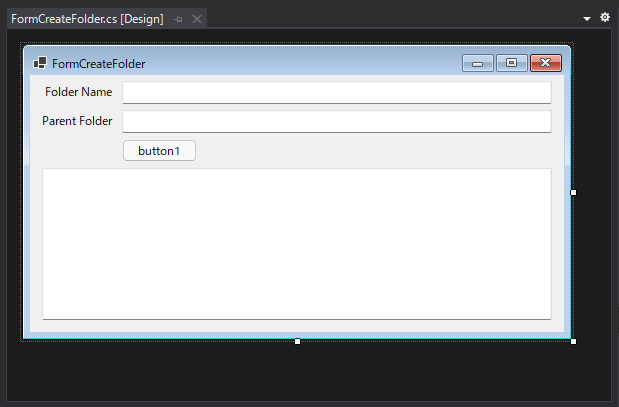
下図のフォームを作成します。テキストボックスを3つ、ボタンを1つ配置します。
コード
下記のコードを記述します。
using System;
using System.Collections.Generic;
using System.ComponentModel;
using System.Data;
using System.Drawing;
using System.Linq;
using System.Text;
using System.Threading.Tasks;
using System.Windows.Forms;
using Microsoft.Identity.Client;
using Microsoft.Graph;

namespace SimpleCallApi
{
  public partial class FormCreateFolder : Form
  {
    public FormCreateFolder()
    {
      InitializeComponent();
    }

    public static IPublicClientApplication PublicClientApp;
    private string ClientId = "(クライアントID)";
    private string TenantId = "(テナントID)";

    private async void button1_Click(object sender, EventArgs e)
    {
      PublicClientApplicationBuilder app = PublicClientApplicationBuilder.Create(ClientId);
      app = app.WithRedirectUri("https://login.microsoftonline.com/common/oauth2/nativeclient");
      app = app.WithAuthority(AzureCloudInstance.AzurePublic, TenantId);
      PublicClientApp = app.Build();

      string[] scopes = new string[] { "User.ReadWrite.All" };
      string password = "(OneDriveにサインインするアカウントのパスワード)";
      System.Security.SecureString secpass = new System.Security.SecureString();

      foreach (char c in password) secpass.AppendChar(c);

      AcquireTokenByUsernamePasswordParameterBuilder builder = PublicClientApp.AcquireTokenByUsernamePassword(scopes, "(OneDriveにサインインするアカウント)", secpass);
      AuthenticationResult authResult = await builder.ExecuteAsync();

      DelegateAuthenticationProvider prov = new DelegateAuthenticationProvider(
        (requestMessage) =>
        {
          requestMessage.Headers.Authorization = new System.Net.Http.Headers.AuthenticationHeaderValue("bearer", authResult.AccessToken);
          return Task.FromResult(0);
        }
        );
      GraphServiceClient client = new GraphServiceClient(prov);

      DriveItem newItem = new DriveItem();
      newItem.Name = textBox1.Text;
      newItem.Folder = new Folder();

      if (string.IsNullOrEmpty(textBox2.Text) == true) {
        DriveItem createItem = await client.Me.Drive.Root.Children.Request().AddAsync(newItem);
        textBox3.Text += string.Format("フォルダーを作成しました ID={0}", createItem.Id);
      }
      else {
        DriveItem createItem = await client.Me.Drive.Items[textBox2.Text].Children.Request().AddAsync(newItem);
        textBox3.Text += string.Format("フォルダーを作成しました ID={0}", createItem.Id);
      }
    }
  }
}
解説
OneDriveのライブラリの初期化やOneDriveへのサインイン、アクセストークンの取得については
こちらの記事を参照してください。
GraphServiceClient オブジェクトを作成します。
GraphServiceClient client = new GraphServiceClient(prov);
OneDriveに作成するフォルダーのオブジェクトを作成します。DriveItemクラスのオブジェクトのインスタンスを作成します。
作成したDriveItemオブジェクトの Name プロパティに作成するフォルダの名前を設定します。
また、作成するオブジェクトはフォルダーのため、Folder プロパティに Folder オブジェクトを作成して設定します。
  DriveItem newItem = new DriveItem();
  newItem.Name = textBox1.Text;
  newItem.Folder = new Folder();
OneDriveにフォルダを作成します。親フォルダーのIDが設定されていない場合、すなわち textBox2 の文字列が空の場合は、
ドライブルート内に新しいフォルダを作成しますので、
client.Me.Drive.Root.Children.Request().AddAsync() メソッドを呼び出します。AddAsync メソッドの引数に先に作成した
作成するフォルダのDriveItemオブジェクトを与えます。
親フォルダーのIDが入力されている場合は、
client.Me.Drive.Items[(親フォルダのID)].Children.Request().AddAsync()メソッドを呼び出します。
  if (string.IsNullOrEmpty(textBox2.Text) == true) {
    DriveItem createItem = await client.Me.Drive.Root.Children.Request().AddAsync(newItem);
    textBox3.Text += string.Format("フォルダーを作成しました ID={0}", createItem.Id);
  }
  else {
    DriveItem createItem = await client.Me.Drive.Items[textBox2.Text].Children.Request().AddAsync(newItem);
    textBox3.Text += string.Format("フォルダーを作成しました ID={0}", createItem.Id);
  }
実行結果
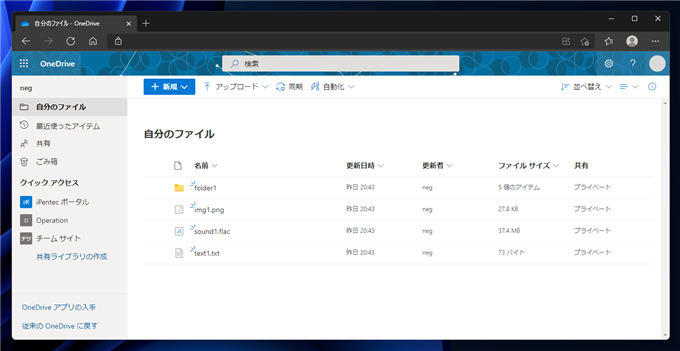
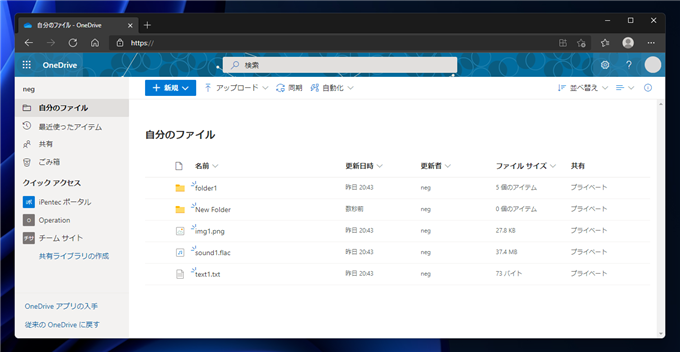
OneDriveのファイルを確認します。フォルダは1つしかありません。
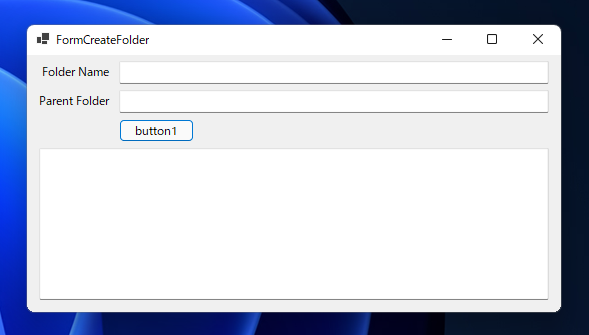
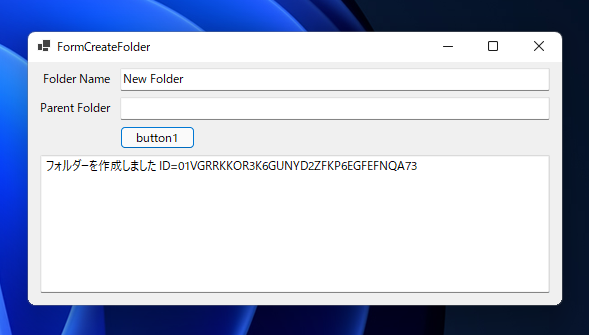
プロジェクトを実行します。下図のウィンドウが表示されます。
上部のテキストボックスに作成したいフォルダの名前を入力します。
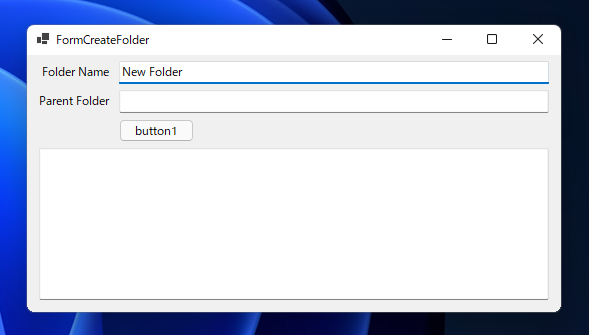
2つ目のテキストボックスは空の状態で、[button1]ボタンをクリックします。フォルダーが作成された旨のメッセージと、作成されたフォルダーのIDがテキストボックスに表示されます。
OneDriveのファイルを確認します。ドライブのルートにフォルダが作成されたことが確認できます。
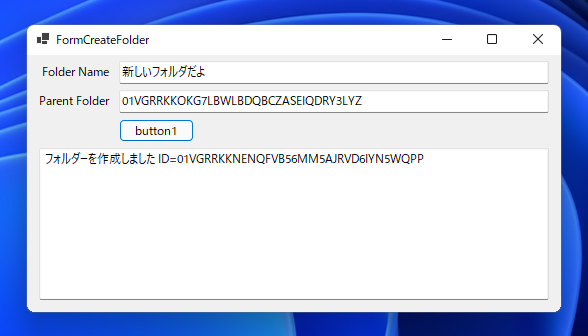
続いて、サブフォルダ内にフォルダを作成する場合の動作を確認します。上部のテキストボックスに作成したいフォルダ名を入力します。
また、2番目のテキストボックスにはフォルダーを作成する場所のフォルダのIDを入力します。

[button1]ボタンをクリックします。フォルダーが作成された旨のメッセージと、作成されたフォルダーのIDがテキストボックスに表示されます。
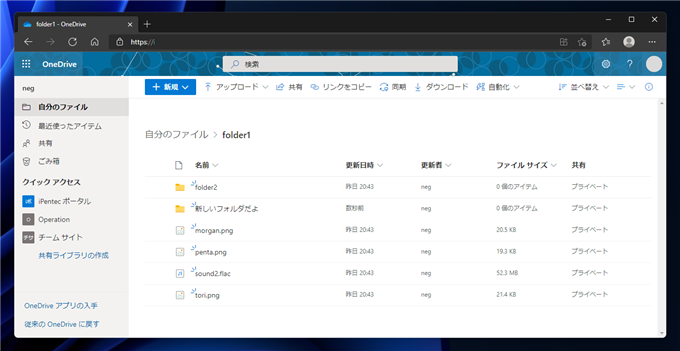
サブフォルダーを確認します。プログラムで指定した名前のフォルダーが作成されていることが確認できます。
著者
iPentecのメインプログラマー
C#, ASP.NET の開発がメイン、少し前まではDelphiを愛用
最終更新日: 2021-08-01
作成日: 2021-07-31
