Hyper-V環境でLinuxICがインストールされているLinuxマシンのカーネルをアップデートすると起動時に"Kernel Panic"エラーが発生し起動できなくなることがあります。この場合の対処方法を紹介します。
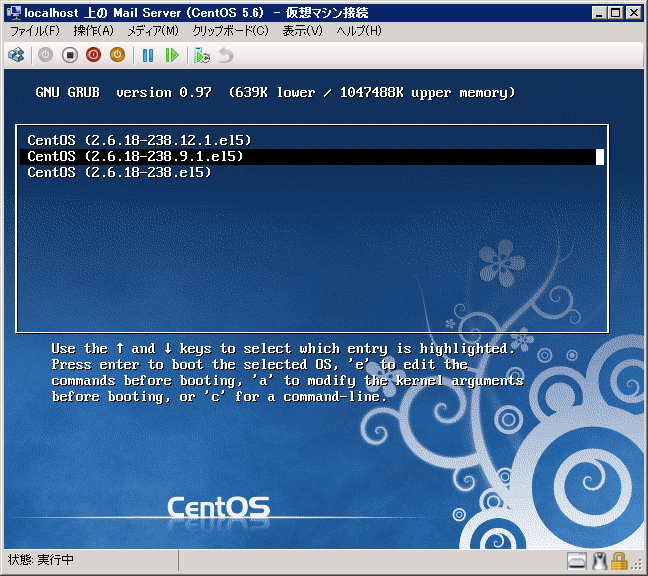
古いカーネルで起動する
起動時にF2キーを押し起動選択画面を表示します。
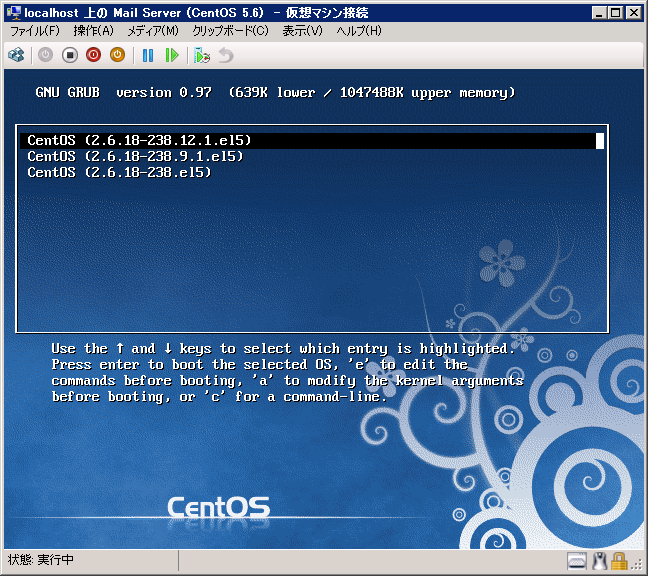
今まで起動できていた一つ古いバージョンのカーネルを選択して起動します。
grub.confの編集
古いカーネルで起動できたら/boot/grub/grub.confを修正します。
grub.conf (編集前)
# grub.conf generated by anaconda
#
# Note that you do not have to rerun grub after making changes to this file
# NOTICE:  You have a /boot partition.  This means that
#          all kernel and initrd paths are relative to /boot/, eg.
#          root (hd0,0)
#          kernel /vmlinuz-version ro root=/dev/VolGroup00/LogVol00
#          initrd /initrd-version.img
#boot=/dev/hda
default=0
timeout=5
splashimage=(hd0,0)/grub/splash.xpm.gz
hiddenmenu
title CentOS (2.6.18-238.12.1.el5)
	root (hd0,0)
	kernel /vmlinuz-2.6.18-238.12.1.el5 ro root=/dev/VolGroup00/LogVol00 rhgb quiet notsc divider=10 hda=noprobe hdb=noprobe
	initrd /initrd-2.6.18-238.12.1.el5.img
title CentOS (2.6.18-238.9.1.el5)
	root (hd0,0)
	kernel /vmlinuz-2.6.18-238.9.1.el5 ro root=/dev/VolGroup00/LogVol00 rhgb quiet hda=noprobe hdb=noprobe notsc divider=10
	initrd /initrd-2.6.18-238.9.1.el5.img
title CentOS (2.6.18-238.el5)
	root (hd0,0)
	kernel /vmlinuz-2.6.18-238.el5 ro root=/dev/VolGroup00/LogVol00 rhgb quiet
	initrd /initrd-2.6.18-238.el5.img
kernel /vmlinuz-2.6.18-238.12.1.el5 ro root=/dev/VolGroup00/LogVol00 rhgb quiet hda=noprobe hdb=noprobe notsc divider=10
の行の
hda=noprobe hdb=noprobe
を削除して
kernel /vmlinuz-2.6.18-238.12.1.el5 ro root=/dev/VolGroup00/LogVol00 rhgb quiet notsc divider=10
とします。
grub.conf (編集後)
# grub.conf generated by anaconda
#
# Note that you do not have to rerun grub after making changes to this file
# NOTICE:  You have a /boot partition.  This means that
#          all kernel and initrd paths are relative to /boot/, eg.
#          root (hd0,0)
#          kernel /vmlinuz-version ro root=/dev/VolGroup00/LogVol00
#          initrd /initrd-version.img
#boot=/dev/hda
default=0
timeout=5
splashimage=(hd0,0)/grub/splash.xpm.gz
hiddenmenu
title CentOS (2.6.18-238.12.1.el5)
	root (hd0,0)
	kernel /vmlinuz-2.6.18-238.12.1.el5 ro root=/dev/VolGroup00/LogVol00 rhgb quiet notsc divider=10
	initrd /initrd-2.6.18-238.12.1.el5.img
title CentOS (2.6.18-238.9.1.el5)
	root (hd0,0)
	kernel /vmlinuz-2.6.18-238.9.1.el5 ro root=/dev/VolGroup00/LogVol00 rhgb quiet hda=noprobe hdb=noprobe notsc divider=10
	initrd /initrd-2.6.18-238.9.1.el5.img
title CentOS (2.6.18-238.el5)
	root (hd0,0)
	kernel /vmlinuz-2.6.18-238.el5 ro root=/dev/VolGroup00/LogVol00 rhgb quiet
	initrd /initrd-2.6.18-238.el5.img
新しいカーネルで起動する
/boot/grub/grub.conf 編集後再起動し、新しいバージョンのカーネルで起動します。
hda=noprobe hdb=noprobe
を削除すると新しいバージョンのカーネルで起動できるようになります。
LinuxICのビルドと再インストール
LinuxICのビルドと再インストールをします。
インストールは
こちらの手順でインストールしたものとします。
シンボリックリンクの変更
cd /lib/modules/2.6.18-238.12.1.el5
mv build build.org
ln -s /usr/src/kernels/2.6.18-238.12.1.el5-x86_64 build
makeとインストール
makeして、インストールします。
cd /opt/linux_ic_v21_rtm/
make clean
make
make install
再起動
make終了後、再起動をします
reboot
以上で終了です。再起動後、新しいバージョンのカーネルでLinuxICインストール済みのLinuxを起動できます。
著者
iPentec.com の代表。ハードウェア、サーバー投資、管理などを担当。
Office 365やデータベースの記事なども担当。
最終更新日: 2024-01-06
作成日: 2011-07-12
