アニメーション効果をつけて別の画面を表示する - Android
Androidアプリの画面遷移(アクティビティーの切り替え)時にアニメーションさせて画面を切り替えるコードを紹介します。
プロジェクトの作成
Android アプリケーションプロジェクトを作成します。
[New Android Application]ダイアログボックスが表示されますので、以下を設定します。
- Application Name: "SimpleAnimationChangeActivity"
- Project Name: "SimpleAnimationChangeActivity"
- Package Name: "com.iPentec.simpleanimationchangeactivity"
- Minimum Required SDK: "API 8: Android 2.2 (Froyo)"
- Target SDK: "API 17: Android 4.2 (Jelly Bean)"
- Compile With: "API 17: Android 4.2 (Jelly Bean)"
- Theme: "Holo Light with Dark Action Bar"
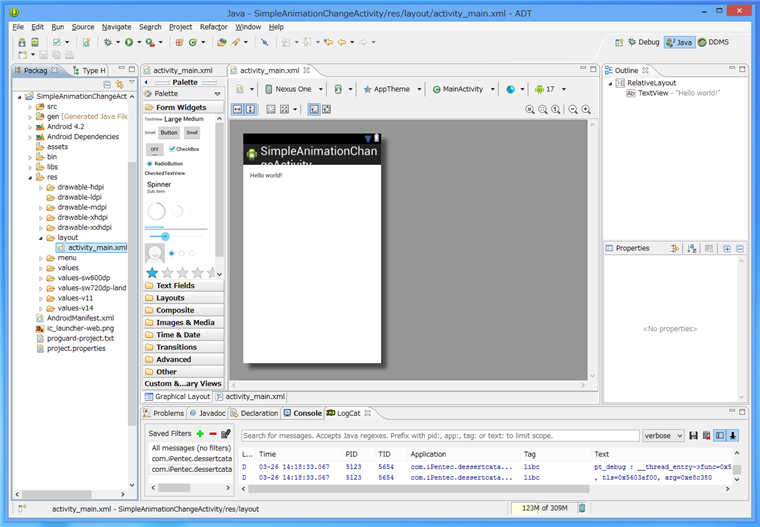
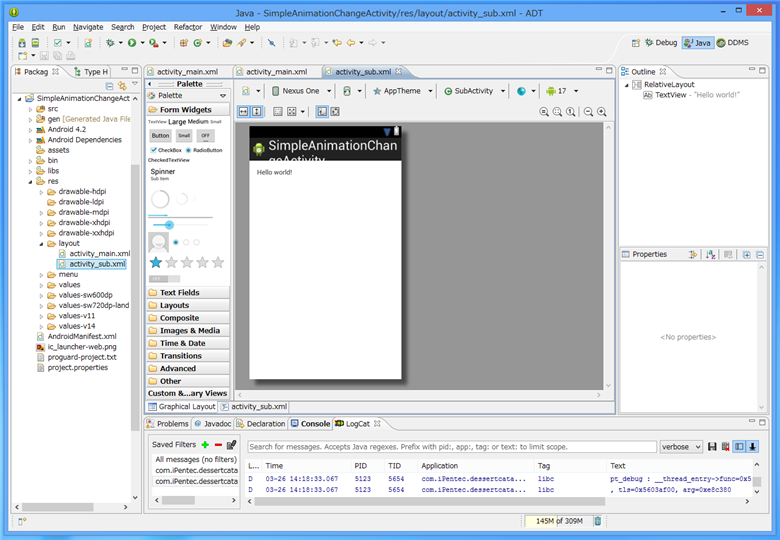
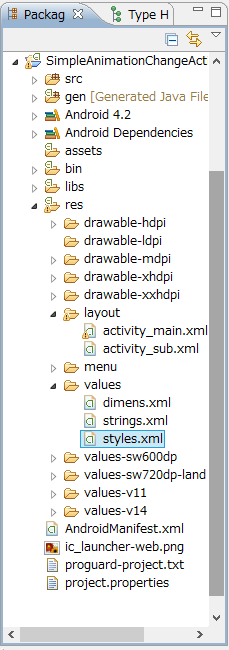
プロジェクトが作成できると下図の画面が表示されます。
アクティビティーの追加
プロジェクト作成直後はメインのアクティビティーしかないため遷移先の画面(アクティビティー)を作成します。
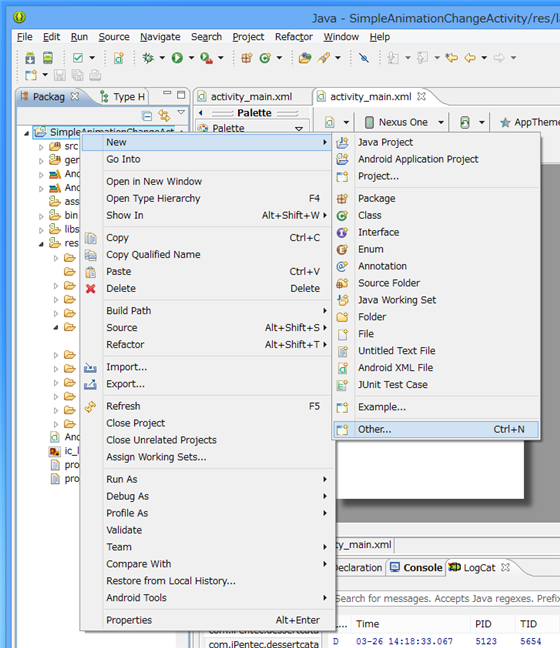
プロジェクトのノードを選択し右クリックでポップアップメニューを表示します。ポップアップメニューの[New]メニューの[Other...]を選択します。
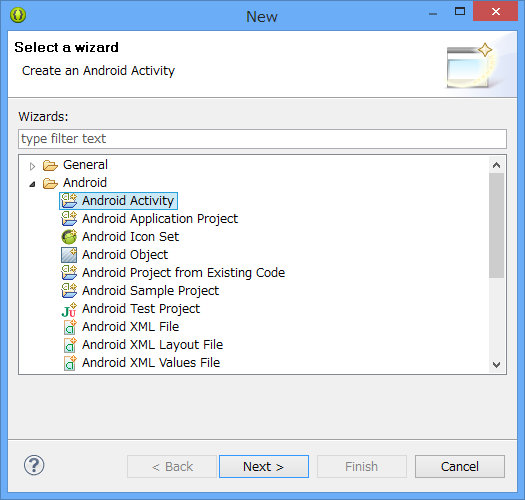
[New]ダイアログが表示されます。
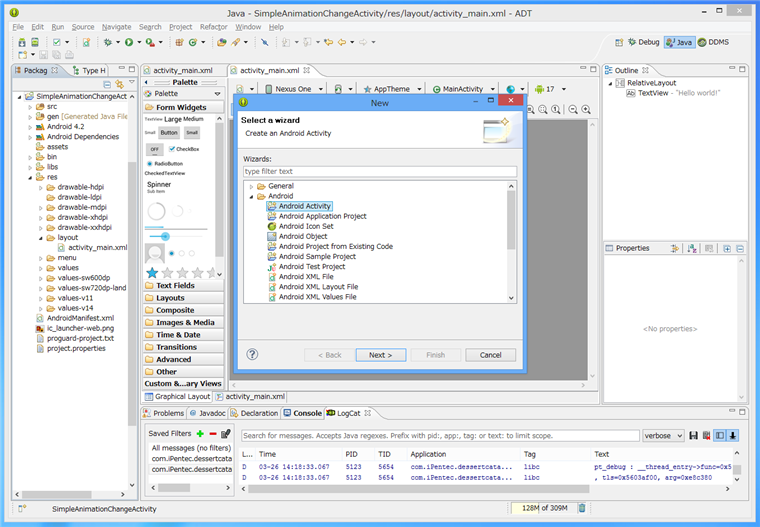
ダイアログの[Android]カテゴリのノード内の[Android Activity]をクリックして選択します。選択後[Next >]ボタンを押します。
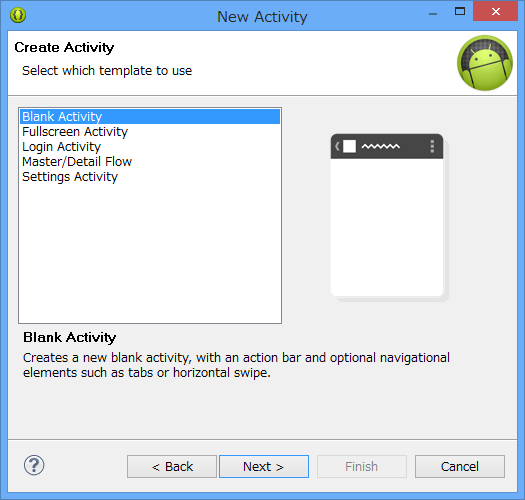
テンプレートを選択します。今回はデフォルトの[Blank Activity]を選択します。[Next >]ボタンを押します。
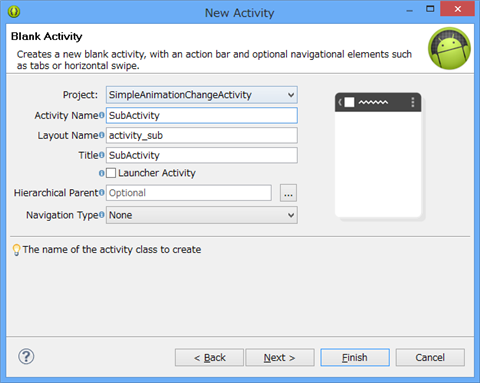
アクティビティ名を入力します。デフォルトでは"MainActivity"になっているため変更します。
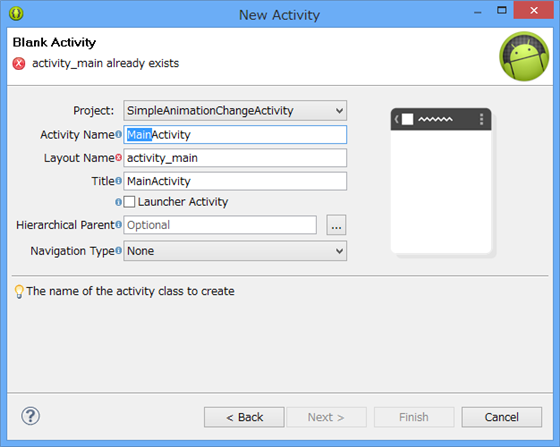
今回は"SubActivity"と変更しました。[Next >]ボタンを押して次に進みます。
変更内容のプレビューが表示されます。[Finish]ボタンを押してアクティビティの追加をします。
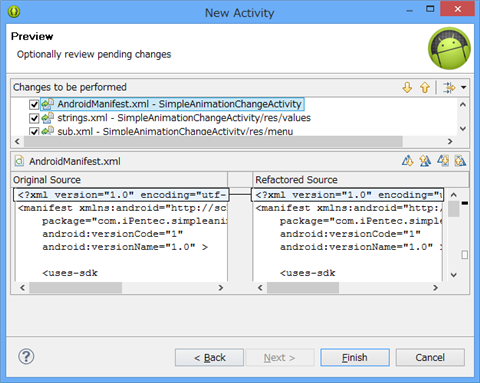
アクティビティの追加ができました。
UIの作成
UIを作成します。
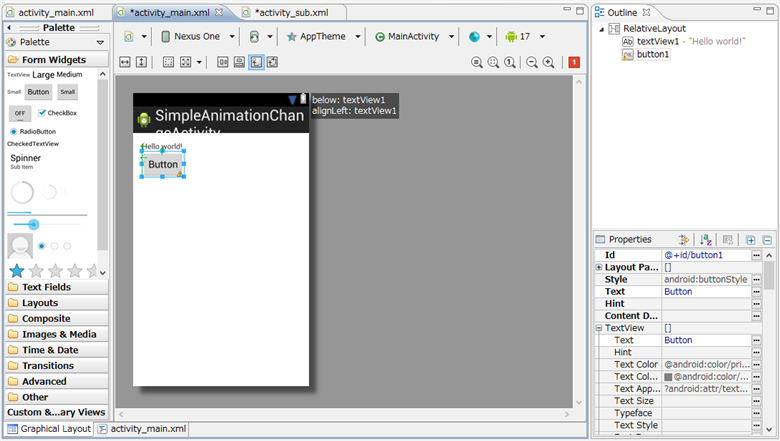
MainActivityにボタンを1つ配置します。
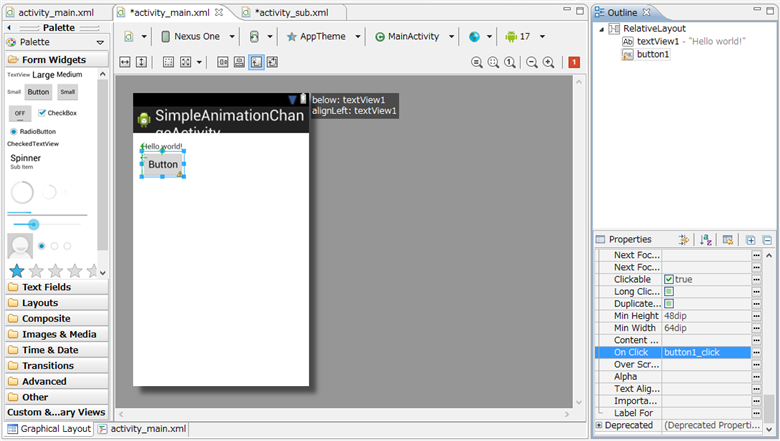
デザイナ上でボタンをクリックしてボタンを選択します。右側の[Properties]ウィンドウの"On Click"プロパティに"button1_click"を設定します。
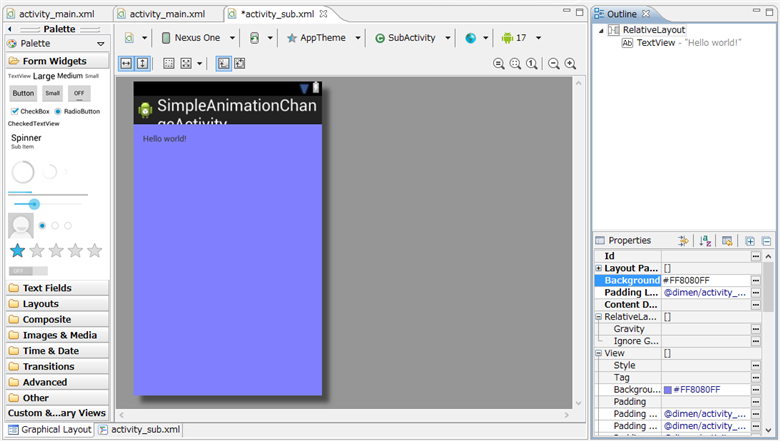
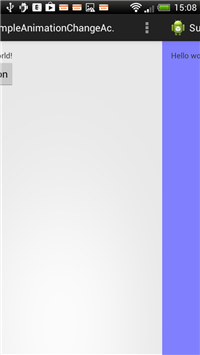
SubActivityは画面のアニメーションを確認しやすくするため背景色を変更します。"Background"プロパティに"#FF8080FF"を設定しました。
コード
スタイルファイルの編集
プロジェクトノード内にある"/res/values/styles.xml"ファイルを編集します。
styles.xml
変更前
<resources>
    <!--
        Base application theme, dependent on API level. This theme is replaced
        by AppBaseTheme from res/values-vXX/styles.xml on newer devices.
    -->
    <style name="AppBaseTheme" parent="android:Theme.Light">
        <!--
            Theme customizations available in newer API levels can go in
            res/values-vXX/styles.xml, while customizations related to
            backward-compatibility can go here.
        -->
    </style>

    <!-- Application theme. -->
    <style name="AppTheme" parent="AppBaseTheme">
        <!-- All customizations that are NOT specific to a particular API-level can go here. -->
    </style>
</resources>
変更後
<resources>
    <!--
        Base application theme, dependent on API level. This theme is replaced
        by AppBaseTheme from res/values-vXX/styles.xml on newer devices.
    -->
    <style name="AppBaseTheme" parent="android:Theme.Light">
        <!--
            Theme customizations available in newer API levels can go in
            res/values-vXX/styles.xml, while customizations related to
            backward-compatibility can go here.
        -->
    </style>

    <!-- Application theme. -->
    <style name="AppTheme" parent="AppBaseTheme">
        <!-- All customizations that are NOT specific to a particular API-level can go here. -->
        <item name="android:windowAnimationStyle">@style/AnimationActivity</item>
    </style>

    <style name="AnimationActivity" parent="android:Animation.Activity">
        <item name="android:activityOpenEnterAnimation">@anim/open_enter</item>
        <item name="android:activityOpenExitAnimation">@anim/open_exit</item>
        <item name="android:activityCloseEnterAnimation">@anim/close_enter</item>
        <item name="android:activityCloseExitAnimation">@anim/close_exit</item>
    </style>

</resources>
解説
<style name="AppTheme" parent="AppBaseTheme">
...
</style>
タグ内の
<item name="android:windowAnimationStyle">@style/AnimationActivity</item>
が追記部分です。
また
  <style name="AnimationActivity" parent="android:Animation.Activity">
    <item name="android:activityOpenEnterAnimation">@anim/open_enter</item>
    <item name="android:activityOpenExitAnimation">@anim/open_exit</item>
    <item name="android:activityCloseEnterAnimation">@anim/close_enter</item>
    <item name="android:activityCloseExitAnimation">@anim/close_exit</item>
  </style>
のコードが追記部分です。こちらのタグ内の"@anim/open_enter","@anim/open_exit","@anim/close_enter","@anim/close_exit"は次節のアニメーション設定ファイルの名称と合わせます。書式は
@(アニメーション設定ファイルのフォルダ)/(アニメーション設定ファイルの名称)
となります。
アニメーション設定ファイルの保存フォルダが"Animation"、アニメーション設定ファイルが、"AnimationPenguinABC.xml"の場合
@Animation/AnimationPenguinABC
と記述します。
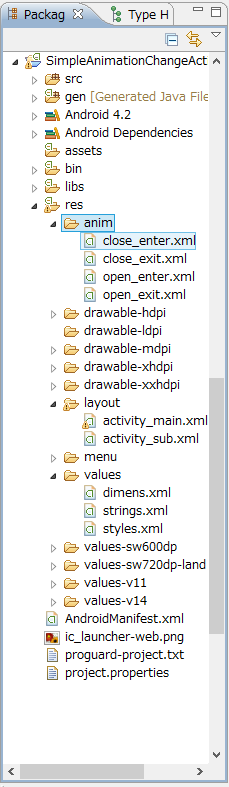
アニメーション設定ファイルの追加
以下の"close_enter.xml", "close_exit.xml", "open_enter.xml", "open_exit.xml" ファイルを/res/anim ディレクトリに追加します。ファイルの内容は以下の通りです。
close_enter.xml
<?xml version="1.0" encoding="UTF-8"?>
<set xmlns:android="http://schemas.android.com/apk/res/android"
	android:interpolator="@android:anim/accelerate_interpolator">
<translate android:fromXDelta="-100%"
		android:toXDelta="0%"
		android:duration="300"
		android:fillAfter="true"
		android:fillEnabled="true"/>
</set>
close_exit.xml
<?xml version="1.0" encoding="UTF-8"?>
<set xmlns:android="http://schemas.android.com/apk/res/android"
	android:interpolator="@android:anim/accelerate_interpolator">
<translate android:fromXDelta="0%"
		android:toXDelta="100%"
		android:duration="300"
		android:fillAfter="true"
		android:fillEnabled="true"/>
</set>
open_enter.xml
<?xml version="1.0" encoding="UTF-8"?>
<set xmlns:android="http://schemas.android.com/apk/res/android"
	android:interpolator="@android:anim/accelerate_interpolator">
<translate android:fromXDelta="100%"
		android:toXDelta="0%"
		android:duration="300"
		android:fillAfter="true"
		android:fillEnabled="true"/>
</set>
open_exit.xml
<?xml version="1.0" encoding="UTF-8"?>
<set xmlns:android="http://schemas.android.com/apk/res/android"
	android:interpolator="@android:anim/accelerate_interpolator">
<translate android:fromXDelta="0%"
		android:toXDelta="-100%"
		android:duration="300"
		android:fillAfter="true"
		android:fillEnabled="true"/>
</set>
Javaコード (Activity)
アクティビティのJavaコードを記述します。
MainActivity.java
package com.iPentec.simpleanimationchangeactivity;

import android.os.Bundle;
import android.app.Activity;
import android.view.Menu;
import android.view.View;
import android.content.*;

public class MainActivity extends Activity {

  @Override
  protected void onCreate(Bundle savedInstanceState) {
    super.onCreate(savedInstanceState);
    setContentView(R.layout.activity_main);
  }

  @Override
  public boolean onCreateOptionsMenu(Menu menu) {
    // Inflate the menu; this adds items to the action bar if it is present.
    getMenuInflater().inflate(R.menu.main, menu);
    return true;
  }

  public void button1_click(View view){
    Intent intent = new Intent(this, SubActivity.class);
    startActivity(intent);
  }
}
解説
  public void button1_click(View view){
    Intent intent = new Intent(this, SubActivity.class);
    startActivity(intent);
  }
上記が追加部分のコードです。 buttonがタップされると、インテントを作成しアクティビティを切り替えます。
SubActivity.java
こちらはひな形のコードそのままです。変更はありません。
package com.iPentec.simpleanimationchangeactivity;

import android.os.Bundle;
import android.app.Activity;
import android.view.Menu;

public class SubActivity extends Activity {

  @Override
  protected void onCreate(Bundle savedInstanceState) {
    super.onCreate(savedInstanceState);
    setContentView(R.layout.activity_sub);
  }

  @Override
  public boolean onCreateOptionsMenu(Menu menu) {
    // Inflate the menu; this adds items to the action bar if it is present.
    getMenuInflater().inflate(R.menu.sub, menu);
    return true;
  }
}
実行結果
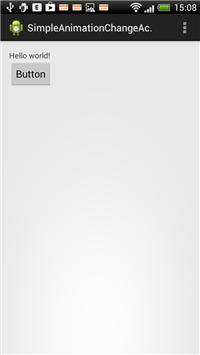
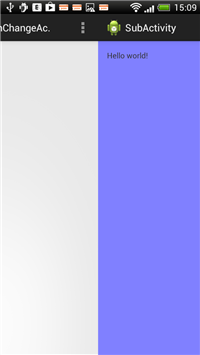
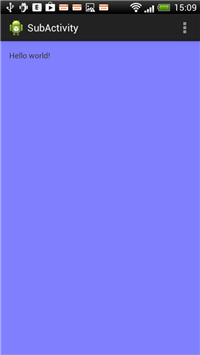
プロジェクトを実行します。下図の画面が表示されます。

画面のButtonを押すとスライドするアニメーションで画面が切り替わります。
著者
iPentecのプログラマー、最近はAIの積極的な活用にも取り組み中。
とっても恥ずかしがり。


