using Microsoft.UI.Composition.SystemBackdrops;
using Microsoft.UI.Xaml;
using Microsoft.UI.Xaml.Controls;
using Microsoft.UI.Xaml.Controls.Primitives;
using Microsoft.UI.Xaml.Data;
using Microsoft.UI.Xaml.Input;
using Microsoft.UI.Xaml.Media;
using Microsoft.UI.Xaml.Navigation;
using System;
using System.Collections.Generic;
using System.IO;
using System.Linq;
using System.Runtime.InteropServices.WindowsRuntime;
using Windows.Foundation;
using Windows.Foundation.Collections;
using WinRT;
// To learn more about WinUI, the WinUI project structure,
// and more about our project templates, see: http://aka.ms/winui-project-info.
namespace AcrylicDemo
{
/// <summary>
/// An empty window that can be used on its own or navigated to within a Frame.
/// </summary>
public sealed partial class MainWindow : Window
{
WindowsSystemDispatcherQueueHelper wsdqHelper;
Microsoft.UI.Composition.SystemBackdrops.DesktopAcrylicController acrylicController;
Microsoft.UI.Composition.SystemBackdrops.SystemBackdropConfiguration configurationSource;
public MainWindow()
{
this.InitializeComponent();
wsdqHelper = new WindowsSystemDispatcherQueueHelper();
wsdqHelper.EnsureWindowsSystemDispatcherQueueController();
SetBackdrop();
}
private void myButton_Click(object sender, RoutedEventArgs e)
{
myButton.Content = "Clicked";
}
public void SetBackdrop()
{
if (acrylicController != null) {
acrylicController.Dispose();
acrylicController = null;
}
configurationSource = null;
TrySetAcrylicBackdrop();
}
private bool TrySetAcrylicBackdrop()
{
if (Microsoft.UI.Composition.SystemBackdrops.DesktopAcrylicController.IsSupported()) {
configurationSource = new Microsoft.UI.Composition.SystemBackdrops.SystemBackdropConfiguration();
this.Activated += Window_Activated;
this.Closed += Window_Closed;
configurationSource.IsInputActive = true;
switch (((FrameworkElement)this.Content).ActualTheme) {
case ElementTheme.Dark: configurationSource.Theme = Microsoft.UI.Composition.SystemBackdrops.SystemBackdropTheme.Dark; break;
case ElementTheme.Light: configurationSource.Theme = Microsoft.UI.Composition.SystemBackdrops.SystemBackdropTheme.Light; break;
case ElementTheme.Default: configurationSource.Theme = Microsoft.UI.Composition.SystemBackdrops.SystemBackdropTheme.Default; break;
}
acrylicController = new Microsoft.UI.Composition.SystemBackdrops.DesktopAcrylicController();
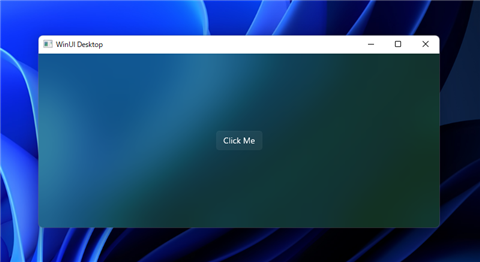
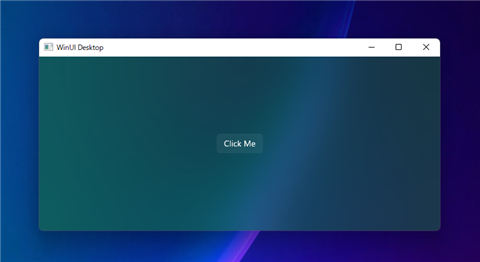
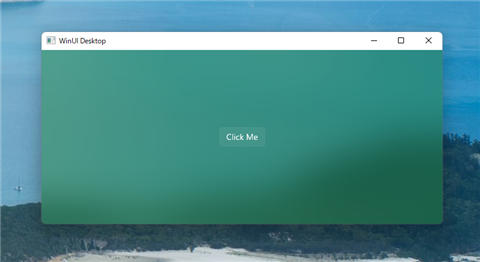
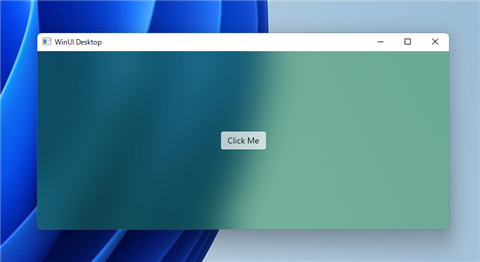
acrylicController.TintColor = new Windows.UI.Color() { A = 255, R = 32, G = 128, B = 64 };
acrylicController.TintOpacity = 0.25f;
acrylicController.LuminosityOpacity = 0.4f;
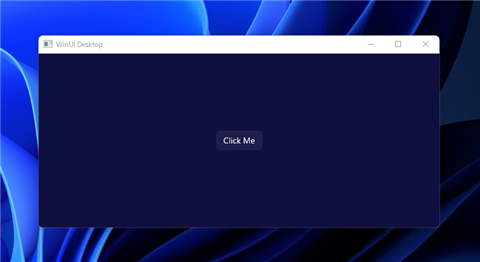
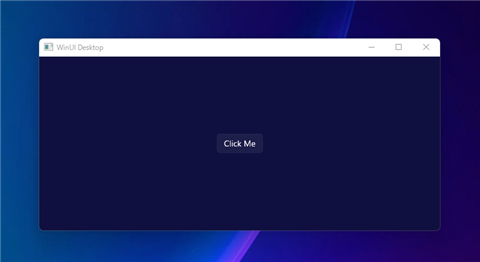
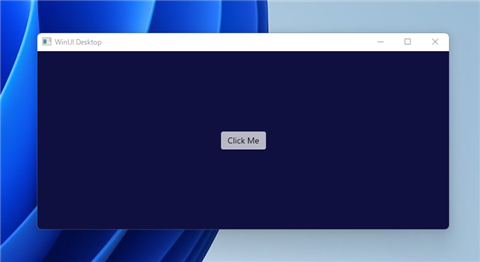
acrylicController.FallbackColor = new Windows.UI.Color() { A = 255, R = 16, G = 16, B = 64 };
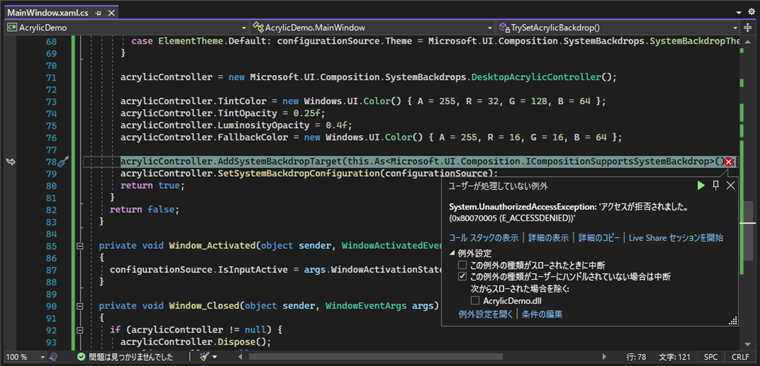
acrylicController.AddSystemBackdropTarget(this.As<Microsoft.UI.Composition.ICompositionSupportsSystemBackdrop>());
acrylicController.SetSystemBackdropConfiguration(configurationSource);
return true;
}
return false;
}
private void Window_Activated(object sender, WindowActivatedEventArgs args)
{
configurationSource.IsInputActive = args.WindowActivationState != WindowActivationState.Deactivated;
}
private void Window_Closed(object sender, WindowEventArgs args)
{
if (acrylicController != null) {
acrylicController.Dispose();
acrylicController = null;
}
this.Activated -= Window_Activated;
configurationSource = null;
}
}
}
WindowsSystemDispatcherQueueHelper.cs
using System;
using System.Collections.Generic;
using System.Linq;
using System.Runtime.InteropServices;
using System.Text;
using System.Threading.Tasks;

namespace AcrylicDemo
{
  internal class WindowsSystemDispatcherQueueHelper
  {
    [StructLayout(LayoutKind.Sequential)]
    struct DispatcherQueueOptions
    {
      internal int dwSize;
      internal int threadType;
      internal int apartmentType;
    }

    [DllImport("CoreMessaging.dll")]
    private static extern int CreateDispatcherQueueController([In] DispatcherQueueOptions options, [In, Out, MarshalAs(UnmanagedType.IUnknown)] ref object dispatcherQueueController);

    object m_dispatcherQueueController = null;
    public void EnsureWindowsSystemDispatcherQueueController()
    {
      if (m_dispatcherQueueController == null) {
        DispatcherQueueOptions options;
        options.dwSize = Marshal.SizeOf(typeof(DispatcherQueueOptions));
        options.threadType = 2;    // DQTYPE_THREAD_CURRENT
        options.apartmentType = 2; // DQTAT_COM_STA

        CreateDispatcherQueueController(options, ref m_dispatcherQueueController);
      }
    }
  }
}