新しいブラウザでは、CSSのscroll-behaviorプロパティの設定で実現できます。
詳細はこちらの記事を参照してください。
<!DOCTYPE html>
<html xmlns="http://www.w3.org/1999/xhtml">
<head>
<meta http-equiv="Content-Type" content="text/html; charset=utf-8"/>
<title></title>
<link rel="stylesheet" type="text/css" href="AnchorScrollNative.css" />
<script type="text/javascript">
window.onload = function () {
document.getElementById('link1').onclick = function () {
var top = getElementAbsoluteTop('section1');
scrollScreen(top, 20);
return false;
}
document.getElementById('link2').onclick = function () {
var top = getElementAbsoluteTop('section2');
scrollScreen(top, 20);
return false;
}
document.getElementById('link3').onclick = function () {
var top = getElementAbsoluteTop('section3');
scrollScreen(top, 20);
return false;
}
document.getElementById('link4').onclick = function () {
var top = getElementAbsoluteTop('section1');
scrollScreen(top, 20);
return false;
}
document.getElementById('link5').onclick = function () {
var top = getElementAbsoluteTop('section2');
scrollScreen(top, 20);
return false;
}
document.getElementById('link6').onclick = function () {
var top = getElementAbsoluteTop('section3');
scrollScreen(top, 20);
return false;
}
};
function getElementAbsoluteTop(id) {
var target = document.getElementById(id);
var rect = target.getBoundingClientRect();
return rect.top;
}
function scrollScreen(desty, time) {
var top = Math.floor(document.documentElement.scrollTop || document.body.scrollTop);
var tick = desty / time;
if (top < desty) {
var newy = top + tick;
document.documentElement.scrollTop = newy;
setTimeout("scrollScreenDown(" + top + "," + desty + "," + newy + "," + tick + ")", 20);
} else {
var newy = top + tick;
document.documentElement.scrollTop = newy;
setTimeout("scrollScreenUp(" + top + "," + desty + "," + newy + "," + tick + ")", 20);
}
}
function scrollScreenDown(starty, desty, newy, tick) {
if (newy < starty + desty) {
var newy = newy + tick;
if (starty + desty < newy) newy = starty + desty;
document.documentElement.scrollTop = newy;
setTimeout("scrollScreenDown(" + starty + "," + +desty + "," + newy + "," + tick + ")", 20);
}
}
function scrollScreenUp(starty, desty, newy, tick) {
if (starty + desty < newy) {
var newy = newy + tick;
if (starty + desty > newy) newy = starty + desty;
document.documentElement.scrollTop = newy;
setTimeout("scrollScreenUp(" + starty + "," + desty + "," + newy + "," + tick + ")", 20);
}
}
</script>
</head>
<body>
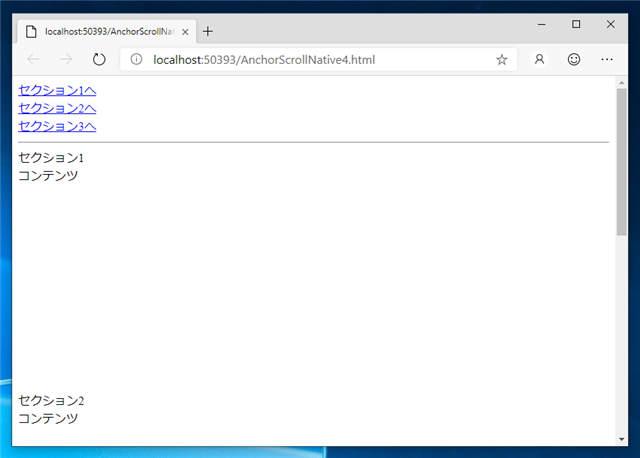
<a id="link1" href="#section1">セクション1へ</a><br />
<a id="link2" href="#section2">セクション2へ</a><br />
<a id="link3" href="#section3">セクション3へ</a><br />
<hr />
<a id="section1">セクション1</a>
<div style="height:300px">コンテンツ</div>
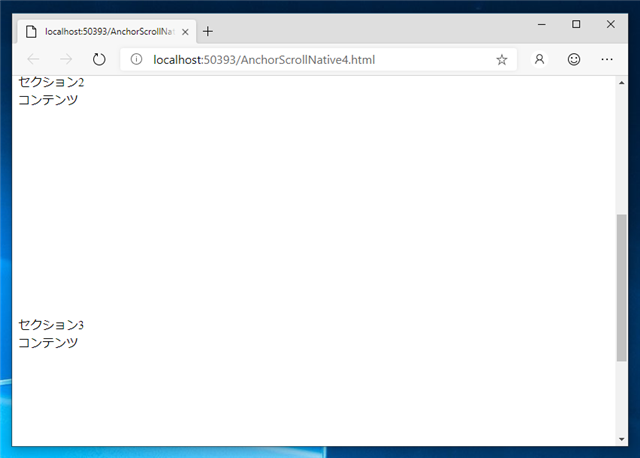
<a id="section2">セクション2</a>
<div style="height:300px">コンテンツ</div>
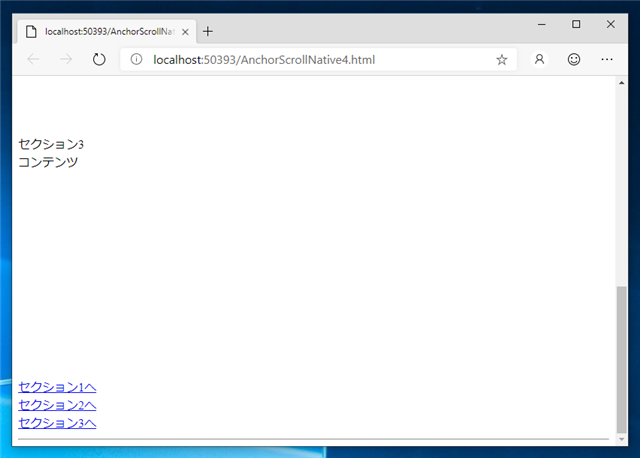
<a id="section3">セクション3</a>
<div style="height:300px">コンテンツ</div>
<a id="link4" href="#section1">セクション1へ</a><br />
<a id="link5" href="#section2">セクション2へ</a><br />
<a id="link6" href="#section3">セクション3へ</a><br />
<hr />
</body>
</html>
document.getElementById('link1').onclick = function () {
  var top = getElementAbsoluteTop('section1');
  scrollScreen(top, 20);
  return false;
}
  function getElementAbsoluteTop(id) {
    var target = document.getElementById(id);
    var rect = target.getBoundingClientRect();
    return rect.top;
  }
function scrollScreen(desty, time) {
  var top = Math.floor(document.documentElement.scrollTop || document.body.scrollTop);
  var tick = desty / time;

  if (top < desty) {
    var newy = top + tick;
    document.documentElement.scrollTop = newy;
    setTimeout("scrollScreenDown(" + top + "," + desty + "," + newy + "," + tick + ")", 20);
  } else {
    var newy = top + tick;
    document.documentElement.scrollTop = newy;
    setTimeout("scrollScreenUp(" + top + "," + desty + "," + newy + "," + tick + ")", 20);
  }
}
function scrollScreenDown(starty, desty, newy, tick) {
  if (newy < starty + desty) {
    var newy = newy + tick;
    if (starty + desty < newy) newy = starty + desty;

    document.documentElement.scrollTop = newy;
    setTimeout(function(){scrollScreenDown(starty, desty, newy, tick);}, 20);
  }
}
function scrollScreenUp(starty, desty, newy, tick) {
  if (starty + desty < newy) {
    var newy = newy + tick;
    if (starty + desty > newy) newy = starty + desty;

    document.documentElement.scrollTop = newy;
    setTimeout(function(){scrollScreenUp(starty, desty, newy, tick);}, 20);
  }
}
<body>
  <a id="link1" href="#section1">セクション1へ</a><br />
  <a id="link2" href="#section2">セクション2へ</a><br />
  <a id="link3" href="#section3">セクション3へ</a><br />
  <hr />

  <a id="section1">セクション1</a>
  <div style="height:300px">コンテンツ</div>

  <a id="section2">セクション2</a>
  <div style="height:300px">コンテンツ</div>

  <a id="section3">セクション3</a>
  <div style="height:300px">コンテンツ</div>

  <a id="link4" href="#section1">セクション1へ</a><br />
  <a id="link5" href="#section2">セクション2へ</a><br />
  <a id="link6" href="#section3">セクション3へ</a><br />
  <hr />
</body>
    <script type="text/javascript">
      window.onload = function () {
        document.getElementById('link1').onclick = function () {
          var top = getElementAbsoluteTop('section1');
          scrollScreen(top, 20);
          return false;
        }
        document.getElementById('link2').onclick = function () {
          var top = getElementAbsoluteTop('section2');
          scrollScreen(top, 20);
          return false;
        }
        document.getElementById('link3').onclick = function () {
          var top = getElementAbsoluteTop('section3');
          scrollScreen(top, 20);
          return false;
        }
        document.getElementById('link4').onclick = function () {
          var top = getElementAbsoluteTop('section1');
          scrollScreen(top, 20);
          return false;
        }
        document.getElementById('link5').onclick = function () {
          var top = getElementAbsoluteTop('section2');
          scrollScreen(top, 20);
          return false;
        }
        document.getElementById('link6').onclick = function () {
          var top = getElementAbsoluteTop('section3');
          scrollScreen(top, 20);
          return false;
        }

      };

      function getElementAbsoluteTop(id) {
        var target = document.getElementById(id);
        var rect = target.getBoundingClientRect();
        return rect.top;
      }

      function scrollScreen(desty, time) {
        var top = Math.floor(document.documentElement.scrollTop || document.body.scrollTop);
        var tick = desty / time;

        if (top < desty) {
          var newy = top + tick;
          document.documentElement.scrollTop = newy;
          setTimeout(function(){scrollScreenDown(top, desty, newy, tick);}, 20);

        } else {
          var newy = top + tick;
          document.documentElement.scrollTop = newy;
          setTimeout(function(){scrollScreenUp(top, desty, newy, tick);}, 20);
        }
      }

      function scrollScreenDown(starty, desty, newy, tick) {
        if (newy < starty + desty) {
          var newy = newy + tick;
          if (starty + desty < newy) newy = starty + desty;

          document.documentElement.scrollTop = newy;
          setTimeout(function(){scrollScreenDown(starty, desty, newy, tick);}, 20);
        }
      }

      function scrollScreenUp(starty, desty, newy, tick) {
        if (starty + desty < newy) {
          var newy = newy + tick;
          if (starty + desty > newy) newy = starty + desty;

          document.documentElement.scrollTop = newy;
          setTimeout(function(){scrollScreenUp(starty, desty, newy, tick);}, 20);
        }
      }
    </script>
setTimeout("scrollScreenUp(" + top + "," + desty + "," + newy + "," + tick + ")", 20);
setTimeout(function(){scrollScreenUp(starty, desty, newy, tick);}, 20);
<!DOCTYPE html>
<html xmlns="http://www.w3.org/1999/xhtml">
<head>
<meta http-equiv="Content-Type" content="text/html; charset=utf-8"/>
    <title></title>
    <link rel="stylesheet" type="text/css" href="AnchorScrollNative.css" />
    <script type="text/javascript">
      window.onload = function () {
        document.getElementById('link1').onclick = function () {
          var top = getElementAbsoluteTop('section1');
          scrollScreen(top, 20);
          return false;
        }
        document.getElementById('link2').onclick = function () {
          var top = getElementAbsoluteTop('section2');
          scrollScreen(top, 20);
          return false;
        }
        document.getElementById('link3').onclick = function () {
          var top = getElementAbsoluteTop('section3');
          scrollScreen(top, 20);
          return false;
        }
        document.getElementById('link4').onclick = function () {
          var top = getElementAbsoluteTop('section1');
          scrollScreen(top, 20);
          return false;
        }
        document.getElementById('link5').onclick = function () {
          var top = getElementAbsoluteTop('section2');
          scrollScreen(top, 20);
          return false;
        }
        document.getElementById('link6').onclick = function () {
          var top = getElementAbsoluteTop('section3');
          scrollScreen(top, 20);
          return false;
        }

      };

      function getElementAbsoluteTop(id) {
        var target = document.getElementById(id);
        var rect = target.getBoundingClientRect();
        return rect.top;
      }

      function scrollScreen(desty, time) {
        var top = Math.floor(document.documentElement.scrollTop || document.body.scrollTop);
        var tick = desty / time;

        var newy = top + tick;
        document.documentElement.scrollTop = newy;
        setTimeout(function () { scrollScreenInt(top, desty, newy, tick); }, 20);
      }

      function scrollScreenInt(starty, desty, newy, tick) {
        var stop=true;

        var newy = newy + tick;
        if (desty < 0) {
          if (starty + desty < newy) {
            stop = false;
          } else {
            newy = starty + desty;
          }
        } else {
          if (newy < starty + desty) {
            stop = false;
          } else {
            newy = starty + desty;
          }
        }

        document.documentElement.scrollTop = newy;
        if (stop == false) {
          setTimeout(function () { scrollScreenInt(starty, desty, newy, tick); }, 20);
        }
      }
    </script>
</head>
<body>
  <a id="link1" href="#section1">セクション1へ</a><br />
  <a id="link2" href="#section2">セクション2へ</a><br />
  <a id="link3" href="#section3">セクション3へ</a><br />
  <hr />

  <a id="section1">セクション1</a>
  <div style="height:300px">コンテンツ</div>

  <a id="section2">セクション2</a>
  <div style="height:300px">コンテンツ</div>

  <a id="section3">セクション3</a>
  <div style="height:300px">コンテンツ</div>

  <a id="link4" href="#section1">セクション1へ</a><br />
  <a id="link5" href="#section2">セクション2へ</a><br />
  <a id="link6" href="#section3">セクション3へ</a><br />
  <hr />
</body>
</html>
<!DOCTYPE html>
<html xmlns="http://www.w3.org/1999/xhtml">
<head>
<meta http-equiv="Content-Type" content="text/html; charset=utf-8"/>
    <title></title>
    <link rel="stylesheet" type="text/css" href="AnchorScrollNative.css" />
    <script type="text/javascript">
      function LinkClick(id) {
        var top = getElementAbsoluteTop(id);
        scrollScreen(top, 20);
        return false;
      }

      function getElementAbsoluteTop(id) {
        var target = document.getElementById(id);
        var rect = target.getBoundingClientRect();
        return rect.top;
      }

      function scrollScreen(desty, time) {
        var top = Math.floor(document.documentElement.scrollTop || document.body.scrollTop);
        var tick = desty / time;

        var newy = top + tick;
        document.documentElement.scrollTop = newy;
        setTimeout(function () { scrollScreenInt(top, desty, newy, tick); }, 20);
      }

      function scrollScreenInt(starty, desty, newy, tick) {
        var stop=true;

        var newy = newy + tick;
        if (desty < 0) {
          if (starty + desty < newy) {
            stop = false;
          } else {
            newy = starty + desty;
          }
        } else {
          if (newy < starty + desty) {
            stop = false;
          } else {
            newy = starty + desty;
          }
        }

        document.documentElement.scrollTop = newy;
        if (stop == false) {
          setTimeout(function () { scrollScreenInt(starty, desty, newy, tick); }, 20);
        }

      }
    </script>
</head>
<body>
  <a href="#section1" onclick="return LinkClick('section1');">セクション1へ</a><br />
  <a href="#section2" onclick="return LinkClick('section2');">セクション2へ</a><br />
  <a href="#section3" onclick="return LinkClick('section3');">セクション3へ</a><br />
  <hr />

  <a id="section1">セクション1</a>
  <div style="height:300px">コンテンツ</div>

  <a id="section2">セクション2</a>
  <div style="height:300px">コンテンツ</div>

  <a id="section3">セクション3</a>
  <div style="height:300px">コンテンツ</div>

  <a href="#section1" onclick="return LinkClick('section1');">セクション1へ</a><br />
  <a href="#section2" onclick="return LinkClick('section2');">セクション2へ</a><br />
  <a href="#section3" onclick="return LinkClick('section3');">セクション3へ</a><br />

  <!-- こちらの記述方式でもOK -->
  <!--
  <a href="#section1" onclick="LinkClick('section1');return false;">セクション1へ</a><br />
  <a href="#section2" onclick="LinkClick('section2');return false;">セクション2へ</a><br />
  <a href="#section3" onclick="LinkClick('section3');return false;">セクション3へ</a><br />
  -->
  <hr />
</body>
</html>