ASP.NET5のシンプルなMapRoute アプリケーションの作成 - ASP.NET
ASP.NET5でシンプルなMapRoute アプリケーションを作成する手順を紹介します。
ASP.NET5プロジェクトの作成
Visual Studioを起動します。
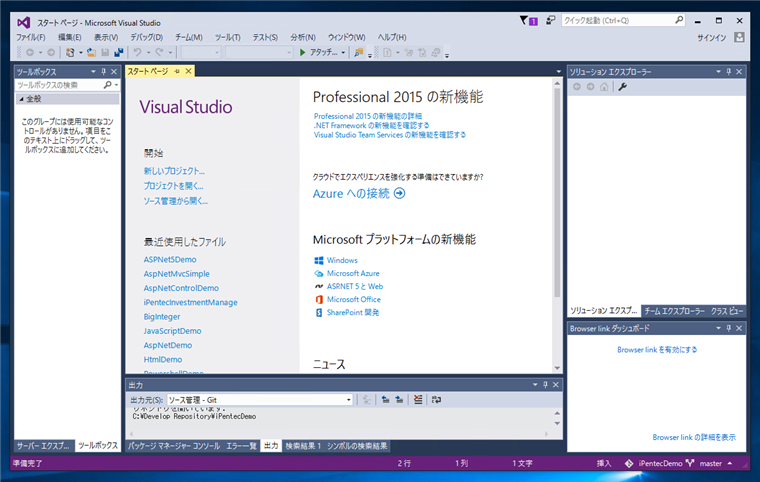
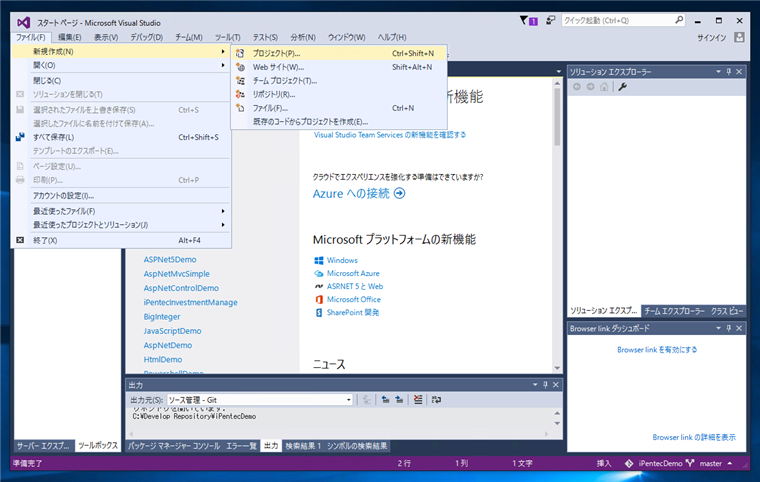
[ファイル]メニューの[新規作成]の[プロジェクト]を選択します。
新しいプロジェクトダイアログが表示されます。左側のテンプレート選択ツリービューで[Visual C#][Web]ノードを選択し、右側のテンプレート一覧から[ASPNET Web アプリケーション]を選択します。ダイアログ下部の[名前]テキストボックスにプロジェクトの名称を入力します。入力後[OK]ボタンをクリックします。

[新しい ASPNET プロジェクト]ダイアログが表示されます。
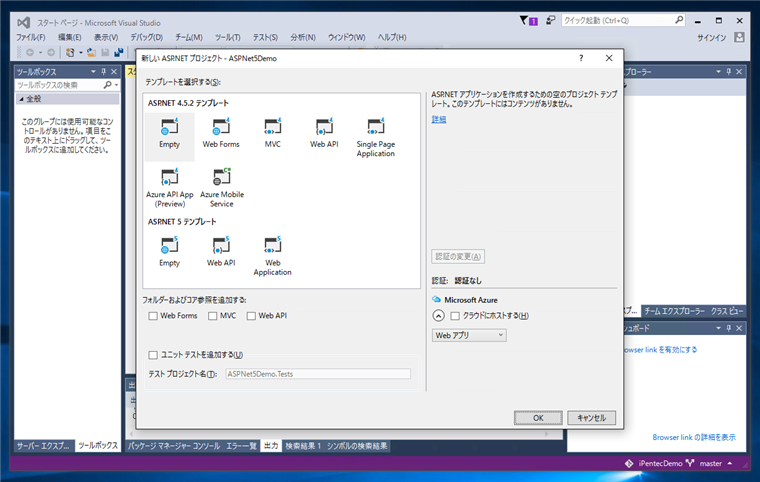
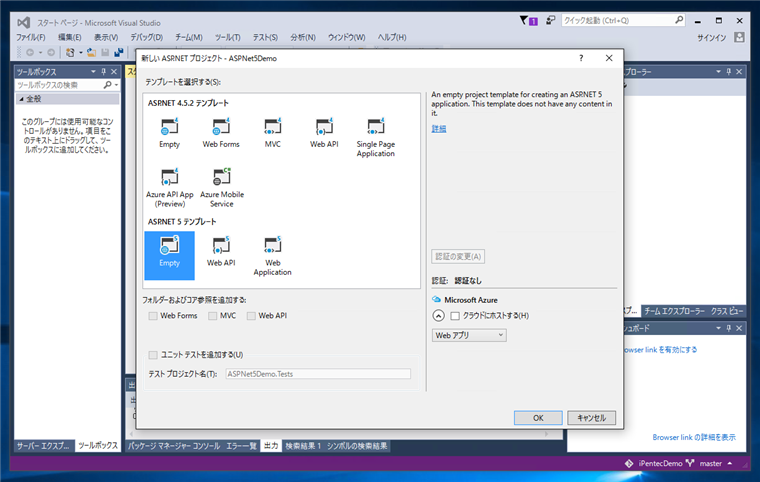
テンプレートの中から、[ASPNET 5 テンプレート]セクションの[Empty]を選択します。選択後ダイアログ右下の[OK]ボタンをクリックします。
プロジェクトの作成処理が始まります。
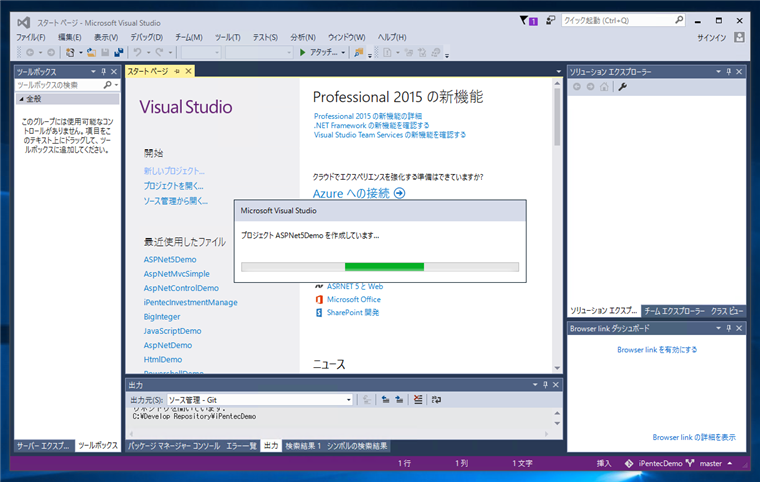
ASP.NET5プロジェクトが作成されると、下図の"Welcom to ASP.NET 5"画面が表示されます。

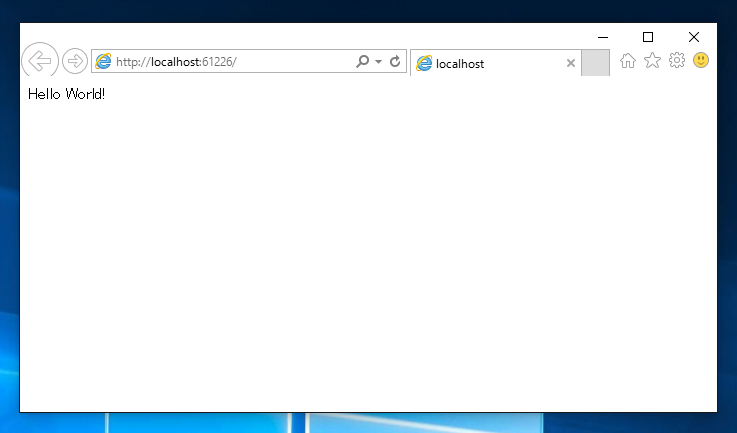
この状態でプロジェクトを実行してみます。Webブラウザが起動し、"Hello World!"が表示されます。
コントローラーとビューの追加
ソリューションエクスプローラで、プロジェクトのノードを選択し、右クリックでポップアップメニューを表示します。メニューの[追加]の[新しいフォルダ]を選択します。
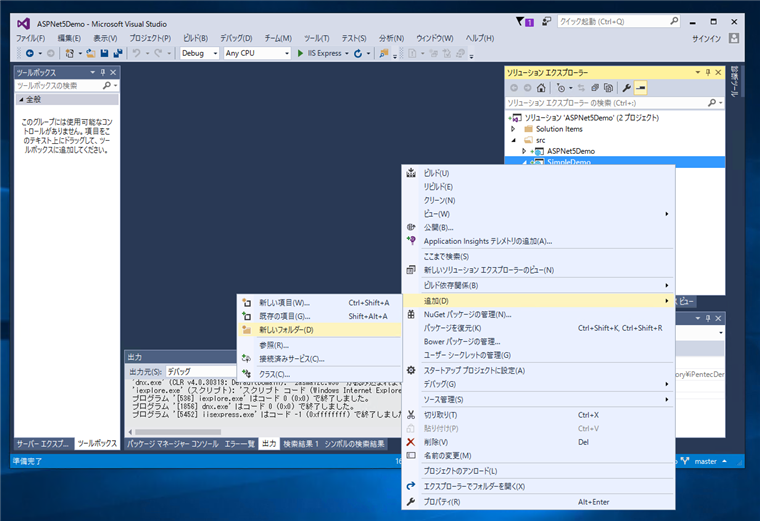
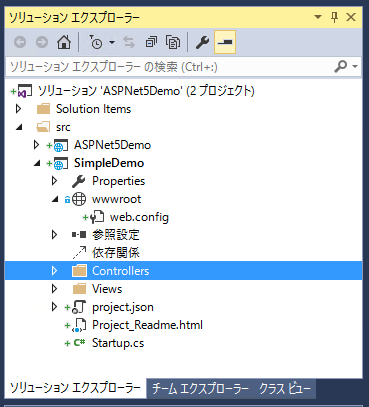
プロジェクトの直下に"Controllers"と"Views"フォルダを作成します。
ソリューションエクスプローラで、先に作成した"Controllers"フォルダを選択し、右クリックしてポップアップメニューを表示します。メニューの[追加]の[新しい項目]を選択します。
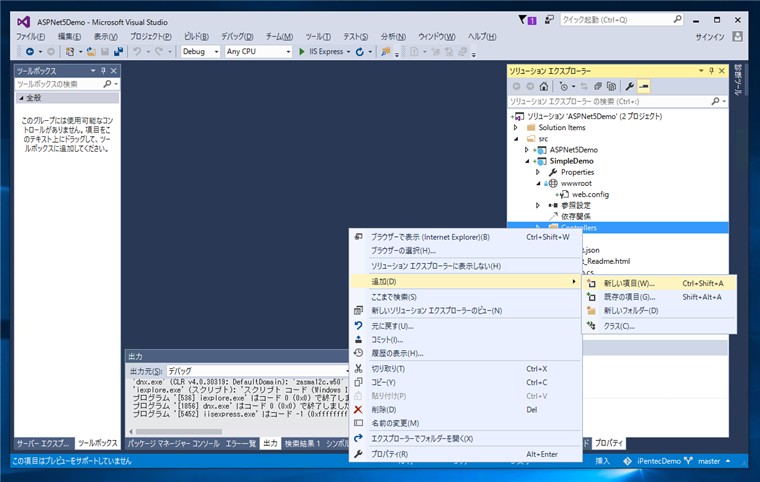
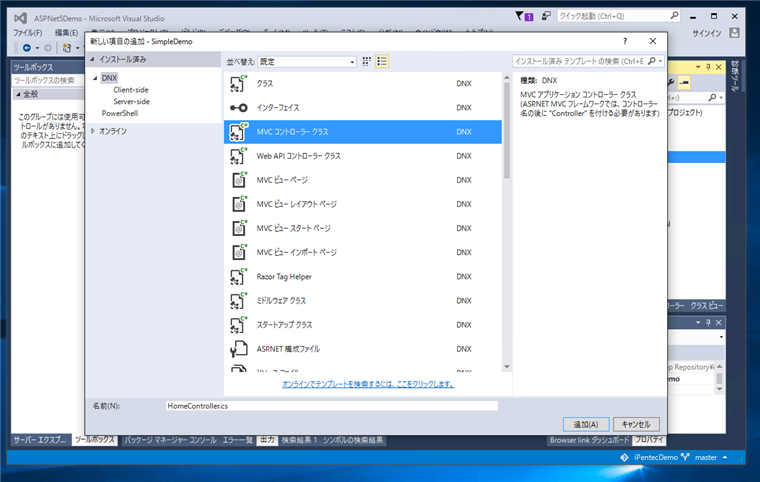
[新しい項目の追加]ダイアログが表示されます。項目の一覧から[MVC コントローラー クラス]を選択します。[名前]は今回はデフォルトの"HomeController.cs"とします。選択後ダイアログ右下の[追加]ボタンをクリックします。
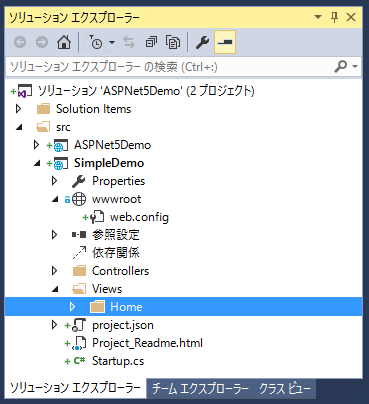
ソリューションエクスプローラのViewsフォルダの下に"Home"フォルダを作成します。
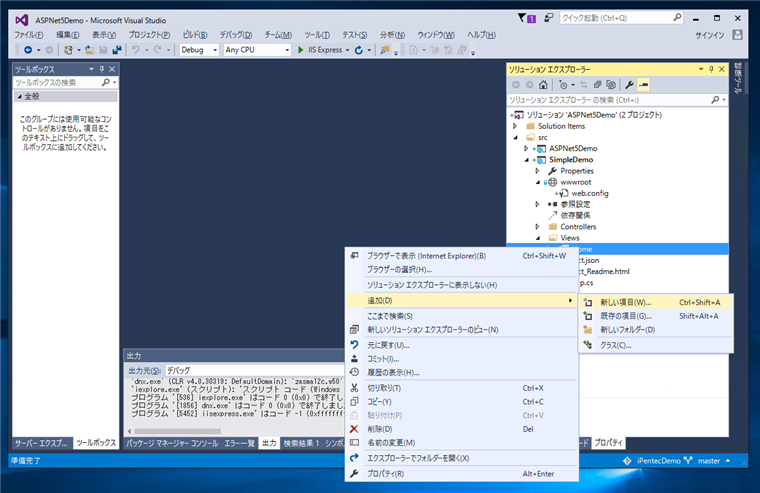
ソリューションエクスプローラで"Home"フォルダを選択し、右クリックでポップアップメニューを表示します。メニューの[追加]の[新しい項目]を選択します。
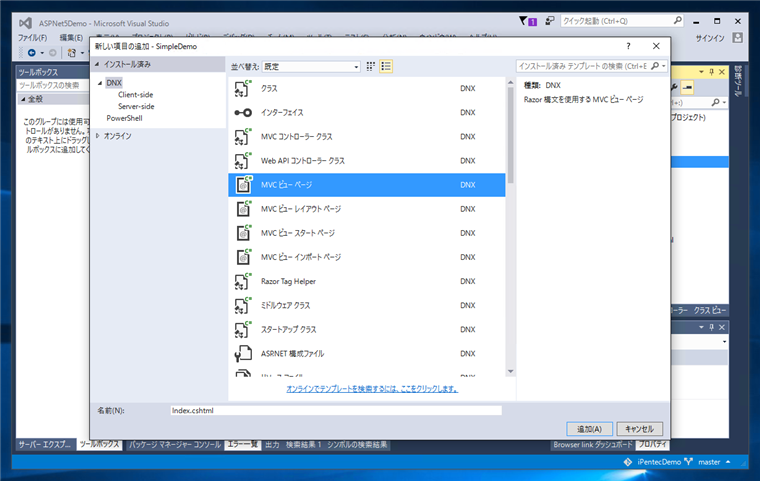
[新しい項目の追加]ダイアログが表示されます。項目の一覧から[MVC ビューページ]を選択します。[名前]は今回はデフォルトの"Index.cshtml"とします。選択後ダイアログ右下の[追加]ボタンをクリックします。
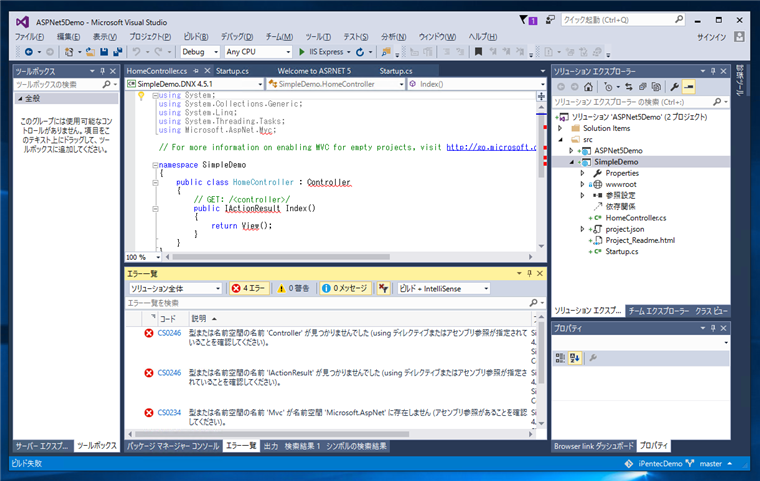
ここまでの状態では、まだエラーが発生して、ビルドできません。以下のコードを記述します。
コード
Project.json
{
  "version": "1.0.0-*",
  "compilationOptions": {
    "emitEntryPoint": true
  },

  "dependencies": {
    "Microsoft.AspNet.IISPlatformHandler": "1.0.0-rc1-final",
    "Microsoft.AspNet.Server.Kestrel": "1.0.0-rc1-final",
    "Microsoft.AspNet.Mvc": "6.0.0-rc1-final"
  },

  "commands": {
    "web": "Microsoft.AspNet.Server.Kestrel"
  },

  "frameworks": {
    "dnx451": { },
    "dnxcore50": { }
  },

  "exclude": [
    "wwwroot",
    "node_modules"
  ],
  "publishExclude": [
    "**.user",
    "**.vspscc"
  ]
}
Startup.cs
Statup.csは下記に変更します。ConfigureServicesメソッドに "services.AddMvc();"を追加します。app.Run(async (context)は削除します。app.UseMvcを追加します。
using System;
using System.Collections.Generic;
using System.Linq;
using System.Threading.Tasks;
using Microsoft.AspNet.Builder;
using Microsoft.AspNet.Hosting;
using Microsoft.AspNet.Http;
using Microsoft.Extensions.DependencyInjection;

namespace SimpleDemo
{
    public class Startup
    {
        // This method gets called by the runtime. Use this method to add services to the container.
        // For more information on how to configure your application, visit http://go.microsoft.com/fwlink/?LinkID=398940
        public void ConfigureServices(IServiceCollection services)
        {
          services.AddMvc();
        }

        // This method gets called by the runtime. Use this method to configure the HTTP request pipeline.
        public void Configure(IApplicationBuilder app)
        {
          app.UseIISPlatformHandler();
          app.UseMvc(routes =>
            {
              routes.MapRoute(
                  name: "default",
                  template: "{controller=Home}/{action=Index}/{id?}");
            });
    }

        // Entry point for the application.
        public static void Main(string[] args) => WebApplication.Run<Startup>(args);
    }
}
index.cshtml
Viewファイルには、ページが表示されたことがわかるメッセージ「はじめてのASP.NET」を記述します。
@*
    For more information on enabling MVC for empty projects, visit http://go.microsoft.com/fwlink/?LinkID=397860
*@
@{
}
<p>はじめてのASP.NET5</p>
HomeController.cs
今回はコントローラーは変更しません。生成されたコードをそのまま使います。
using System;
using System.Collections.Generic;
using System.Linq;
using System.Threading.Tasks;
using Microsoft.AspNet.Mvc;

// For more information on enabling MVC for empty projects, visit http://go.microsoft.com/fwlink/?LinkID=397860

namespace SimpleDemo
{
    public class HomeController : Controller
    {
        // GET: /<controller>/
        public IActionResult Index()
        {
            return View();
        }
    }
}
実行結果
プロジェクトを実行します。Webブラウザが起動し、下図の画面が表示されます。アプリケーションルートのURLでindex.cshtmlのページ内容が表示されていることが確認できます。
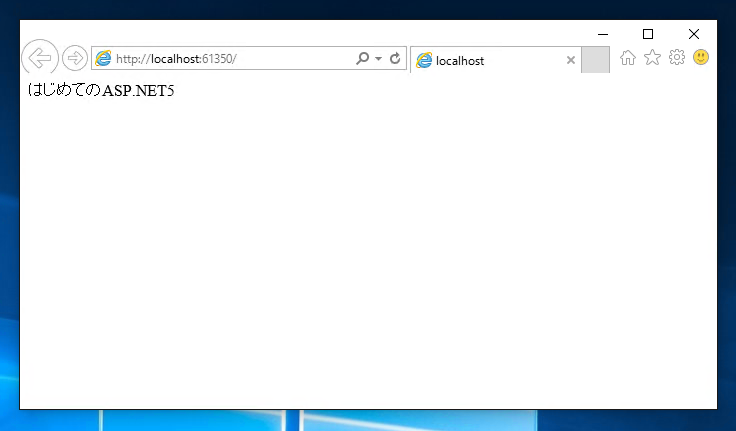
以上でシンプルなASP.NET5アプリケーションを作成できました。
著者
iPentecのメインプログラマー
C#, ASP.NET の開発がメイン、少し前まではDelphiを愛用


